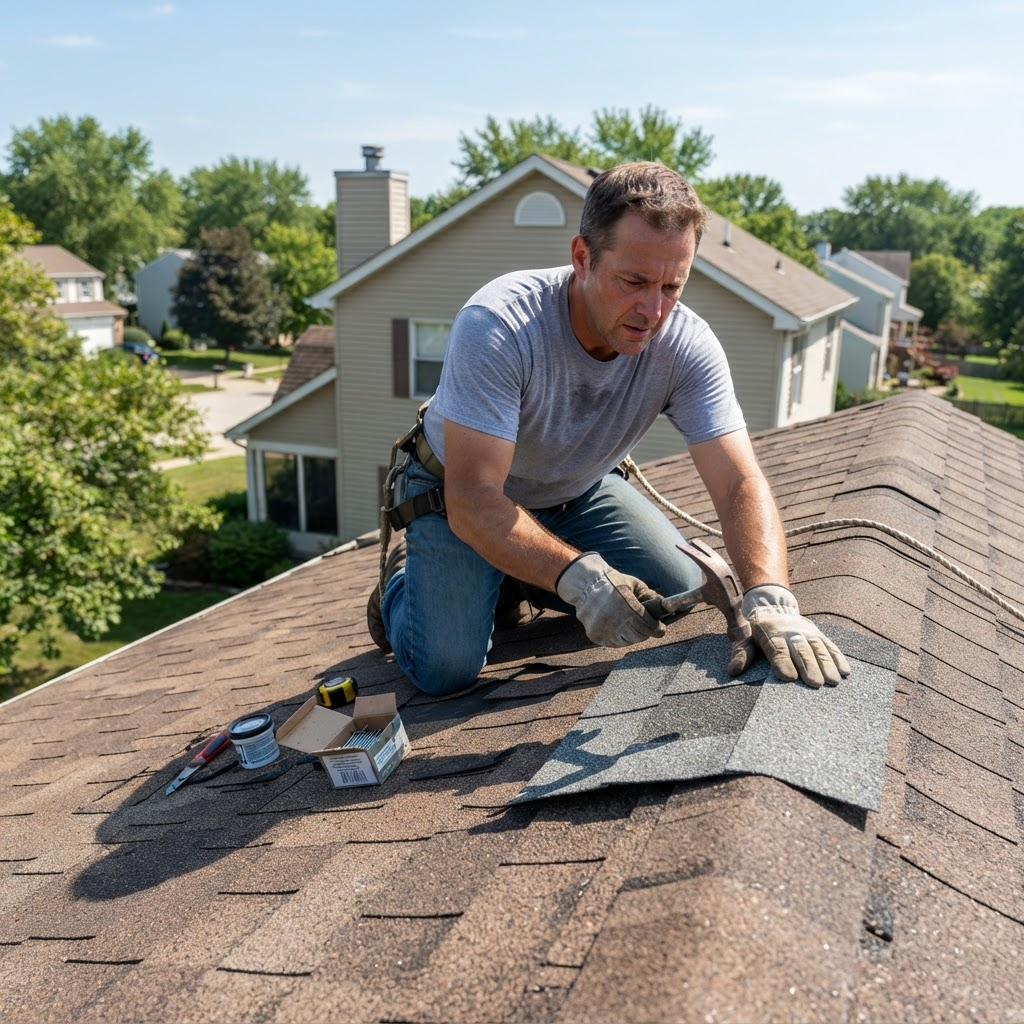
How to Replace a Damaged Shingle Yourself (Step-by-Step)
A single cracked or missing shingle doesn't require a contractor. With basic tools and a Saturday afternoon, you can handle this repair yourself.
Replacing a damaged shingle is one of the most approachable DIY roofing repairs. You don't need special skills — just the right materials, a safe approach, and a little patience.
What You'll Need
- Replacement shingles (match color/type as closely as possible)
- Flat pry bar
- Roofing nails (1¼" or 1½" galvanized)
- Hammer or pneumatic nailer
- Roofing caulk or roof cement
- Utility knife
- Ladder
Step 1: Safety
Work only on a dry, low-pitched roof. Never work alone. Have someone on the ground with a phone. Wear rubber-soled shoes and consider a safety harness for pitches above 6:12.
Step 2: Remove the Damaged Shingle
Lift the edges of surrounding shingles and use the flat pry bar to remove the nails holding the damaged shingle. Shingles are typically fastened with four nails through the top of the shingle, hidden under the course above. Slide the old shingle out carefully.
Step 3: Inspect the Decking
Before installing the new shingle, inspect the exposed decking for soft spots, rot, or moisture damage. If the decking is compromised, stop and call a roofer — a shingle replacement won't solve a structural problem.
Step 4: Install the New Shingle
Slide the new shingle into position, aligning it with the surrounding courses. Nail it with four roofing nails, positioned ¾" from each side edge and 1" above the shingle cutouts. Drive nails flush — overdriven nails puncture the shingle; underdriven nails create bumps.
Step 5: Seal and Blend
Apply a small dab of roofing caulk under each corner of the overlapping shingles to re-seal them. The repair may stand out slightly due to color variation — new shingles weather and blend within a season or two.
When This Isn't Enough
If you find more than 20% of shingles are damaged or granules are heavily depleted, you're looking at a full replacement, not a patch job.